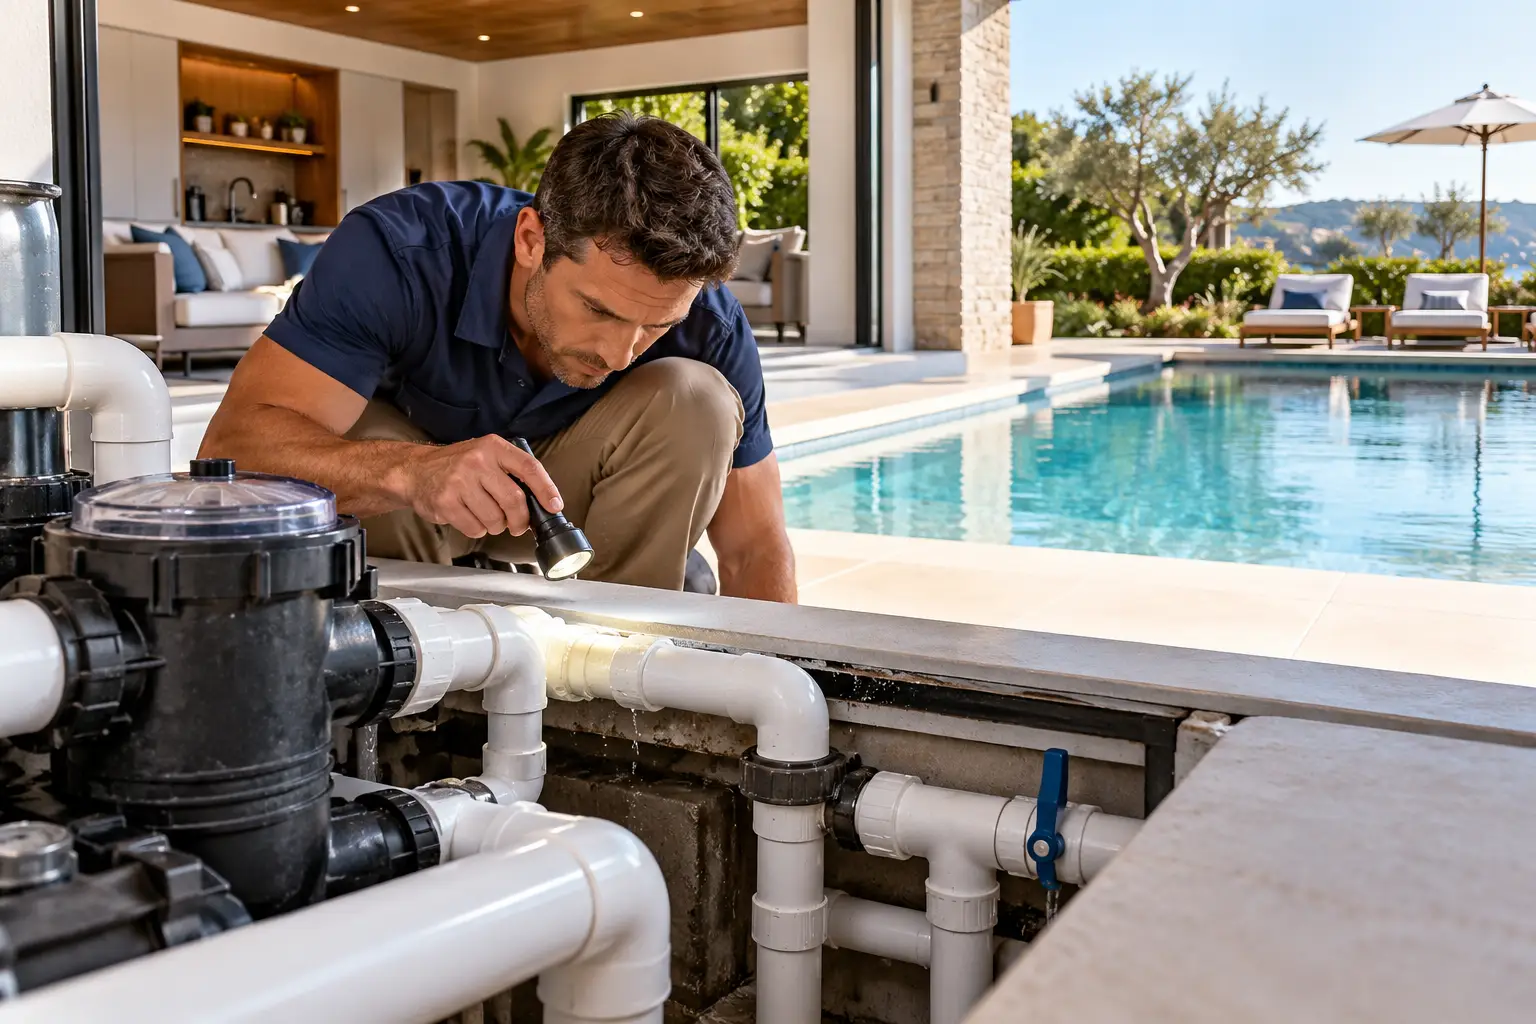
A pool house is supposed to be the easy part of pool ownership — a place to change, rinse off, store chemicals, and maybe mix a drink. But when the plumbing hidden behind those walls and beneath that slab starts leaking, the problems stack up fast: rising water bills, soggy ground, musty smells, and eventually structural damage. The tricky part? These leaks are notoriously quiet. Learning how to find a leak in pool house plumbing early is the difference between a weekend fix and a full renovation.
Here’s a practical, step-by-step approach to tracking down that leak before it finds your wallet.
Know the Warning Signs First
Before you start crawling around with a flashlight, learn what a leak actually looks like. The most common red flags include:
- Unexplained spikes in your water bill — sudden skyrocketing water bills are a classic indicator of a hidden pool-area leak
- Soft or wet spots in the yard, particularly on the side where the plumbing runs
- Marshy patches of grass or puddles sitting above the buried pool plumbing lines
- Standing water or visible corrosion around the pool pump and connected pipes
- Persistent damp smells, mildew, or discolored patches on interior walls and ceilings
- A running water sound when every fixture is switched off
Any one of these alone might mean nothing. Two or more together? Start investigating.
Step 1: Run a Water Meter Test
This is the single fastest way to confirm you have a leak. Turn off every faucet, shower, and appliance connected to the pool house. Then locate your water meter and write down the reading.
Wait two hours without using any water. Check the meter again. If the numbers have moved, water is escaping somewhere in the supply line. This test won’t tell you where the leak is, but it confirms you’re not imagining things.
Step 2: Isolate the Pool House from the Main House
Most pool houses have a dedicated shutoff valve. Close it, then repeat the meter test. If the meter stops moving, your leak is inside the pool house plumbing. If it keeps running, the problem lies elsewhere on your property.
As one common piece of pro advice goes: do the easy stuff first — turn off everything and let the system sit. This step alone can save you hours of searching in the wrong place.
Step 3: Check the Equipment Area Thoroughly
Pool house plumbing often shares space with pool equipment, and that’s where leaks love to hide. Before running tests anywhere else, make sure the leak isn’t happening somewhere inside your plumbing or pool equipment — start by checking your entire filter system area, including the pool pump, filter, and heater. It’s also worth inspecting the mechanical area around the pump, heater, and filter for obvious leaks.
Run your hand along every joint, union, and valve. Look for mineral crust, rust streaks, or steady drips. Dry everything with a towel, wait 30 minutes, and come back. Fresh moisture means an active leak.
Step 4: Don’t Forget Air Leaks
Water isn’t the only thing that escapes. Air leaks can be just as troubling as water leaks — start with a visual and auditory inspection of the pump and the lines connected to it, since hissing sounds or visible cracks can point to a leak. If the pump runs dry after manually priming it with a hose, that can signal a more severe air leak, and air bubbles appearing throughout the pool during runtime are the most common sign that air is getting into your lines.
Step 5: Walk the Grounds and Look Downhill
Take a slow walk around the outside of the pool house, looking for moist areas or standing water. Pay special attention further away — especially downhill — and note whether any running water is visible. Check downhill from the pool for “weepers” where underground leakage is surfacing.
Also check the waste or backwash line for water consistently running, because just one inch of pool water can equal 500 gallons of loss.
Step 6: Dye Testing and Pressure Testing
For suspected fittings and fixtures, dye testing works well. Using a syringe, a small amount of colored dye is applied near suspected leak points below the waterline — returns, drains, skimmer throats, light housings, and fittings. Homeowners can replicate this by squirting a small amount of food coloring or dye near integrated parts or plumbing fixtures and watching which way it drifts.
For buried lines, pressure testing gives you a general idea of which line is compromised.
When to Call a Professional
Not every leak is a DIY job. Once you’ve pressure tested the lines to narrow things down, pinpointing the exact location often means hiring someone with an underground listening device. If you’ve worked through the steps above and still can’t find the source, calling a pro is the cheaper option — guessing and digging up the wrong section of yard rarely ends well.
Final Thoughts
Figuring out how to find a leak in pool house plumbing comes down to patience and process: confirm, isolate, inspect, then escalate. Catch it early, and you keep a small repair from becoming a structural headache.
And once the plumbing is sorted, it’s worth thinking about the bigger picture — how your pool house looks, feels, and functions as part of your home. Home Comfort Experts (homecomfortexperts.co.uk) is a great resource for exactly that, offering practical home design, home decor, and home improvement ideas for homeowners who want their spaces to be both beautiful and genuinely livable. Whether you’re refreshing a tired pool house interior, planning a full outdoor upgrade, or simply hunting for inspiration, their guides make it easier to turn necessary repairs into real improvements.